Students
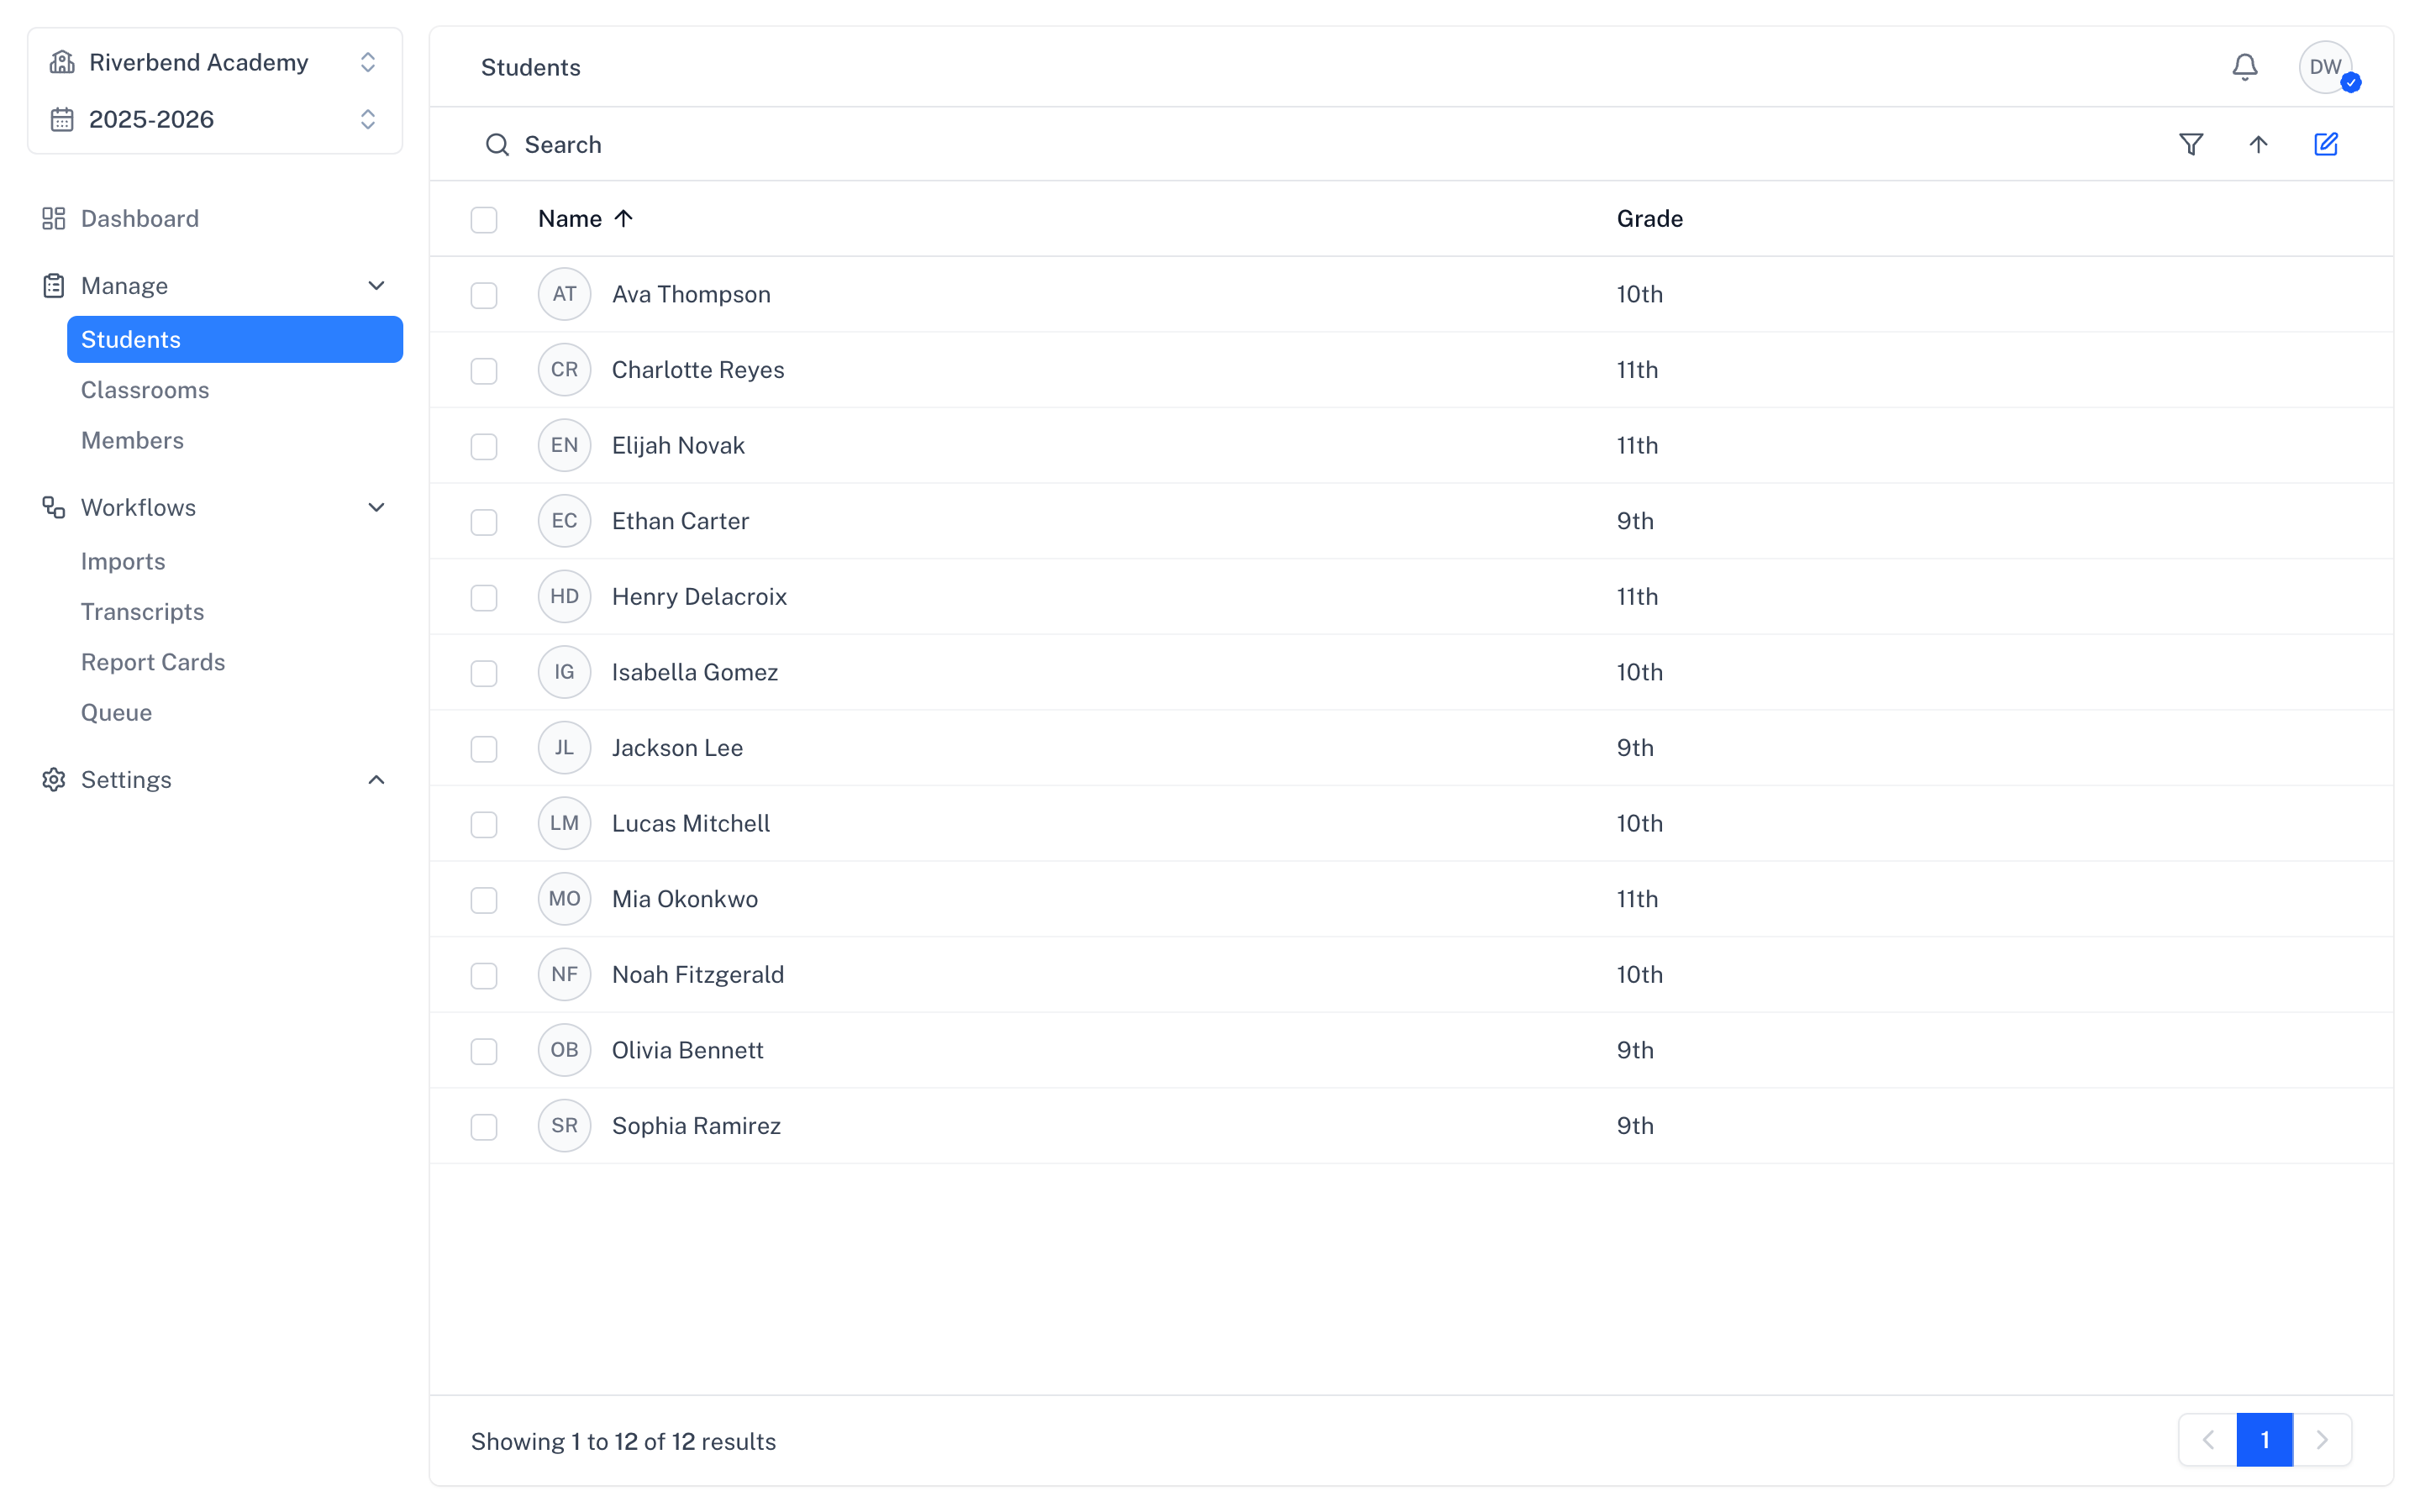
Student records are the foundation of SimpleGrader. Each student profile stores personal information, academic data, and links to classrooms, grades, and attendance records.
Creating a New Student
To add a student to your school:
- Navigate to Students in the sidebar
- Click the Add Student button
- Fill in the student details:
- Full Name (required)
- Avatar (optional — upload at create time or later)
- Grade Level (K-12)
- Notes (optional, rich text)
- Guardian Email (optional — links a guardian account)
- Click Create Student
Editing Student Profiles
Student profiles save automatically — there is no Edit button. Open a student and your changes are persisted as you go:
- Full Name and Notes save shortly after you stop typing
- Grade Level, Status, and Avatar save immediately when changed
You can update any of these fields at any time.
Adding Student Avatars
Personalize student profiles with avatars:
- Open the student's profile (or use the create form)
- Click the avatar placeholder or existing image
- Upload an image file (JPG or PNG, max 5MB)
The avatar appears throughout SimpleGrader wherever the student is referenced.
Attaching Files to Student Records
Store important documents directly on student profiles:
- Open the student's profile
- Scroll to the Attachments section
- Click the + button and select your document
Use attachments for IEPs, permission slips, medical forms, or any other student-related documents.
Marking Students Inactive or Active
When students leave or transfer, mark them inactive instead of deleting. Inactive students preserve all historical data and can be reactivated at any time.
From the student list (bulk)
- Select one or more students
- In the toolbar, click Mark as inactive (or Mark as active if you are viewing the inactive list)
From a student's profile (single)
- Open the student
- In the right sidebar, change the Status toggle between Active and Inactive
Inactive students:
- No longer appear in classroom enrollment lists
- Preserve all historical grade and attendance data
- Are not counted toward billing — see Billing
To find inactive students, switch the Status filter on the student list to Inactive.
Deleting a Student
In addition to marking inactive, school administrators can permanently delete a student record from the actions menu on the student's profile.
Viewing Student Details
The student profile shows a comprehensive view of each student's academic life:
- Classrooms: All classes the student is enrolled in for the selected school year. Click any classroom to drill down to that student's grade and assignment list for just that class, with an optional category filter.
- Attendance: Present, tardy, and absent counts per classroom, plus a heatmap and any flagged attendance issues for the active year. See Attendance.
- Schedule: Section assignments and meeting times across all classrooms. Open from the calendar icon in the Classrooms header or from the actions menu.
- Print grades: Print a grades report for the student, optionally filtered to specific classrooms. Open from the printer icon in the Classrooms header.
- Attachments: Uploaded files and documents.
- Report Cards: Generated report cards for each term appear in the right sidebar with one-click download.
- Transcript: Academic record. See Transcripts.
- Guardians: Linked parent/guardian accounts.
Use the school year selector to view historical data from previous years.